D-Style AV-98 Ingram 1

Review by chachipower
I just can't get enough Patlabor. Out of all the real type robots, I think the labors, Ingrams specifically, are some of the coolest because they are probably the closest to our current technology. They utilize electric and internal combustion motors, hydraulics and lots of tech we use right now. They don't shoot laser beams or have magical morphing abilities, but that's what makes 'em so wonderful because labor type mechs are probably in our near future, possibly a reality in some top secret military location underground undergoing testing. One thing we won't be seeing is a super deformed version on our streets fighting crime. However we can see one on our shelf thanks to Kotobukiya. They made the effort to release a deformed style of the AV-98 Ingram, hence the name D-Style. Here is the box which is laden with cool box art. This is the type of box that you see as a kid and say "wow, this is awesome looking!"...
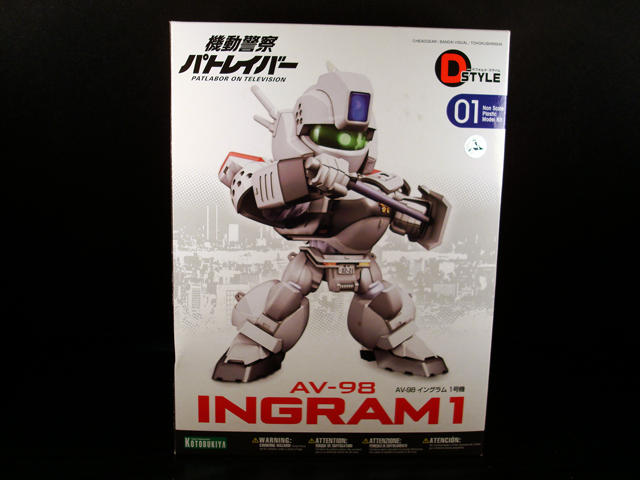
... until you open the box and find out you have to build it and detail. I always got suckered into buying kits by their awesome box art only to find out that mine will never look as cool. Here are the contents.
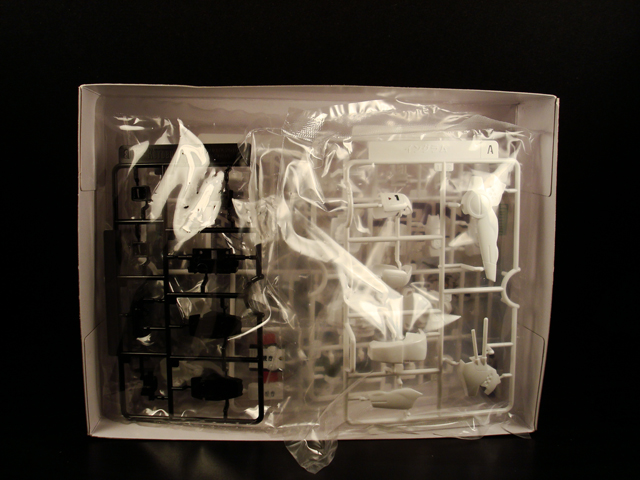
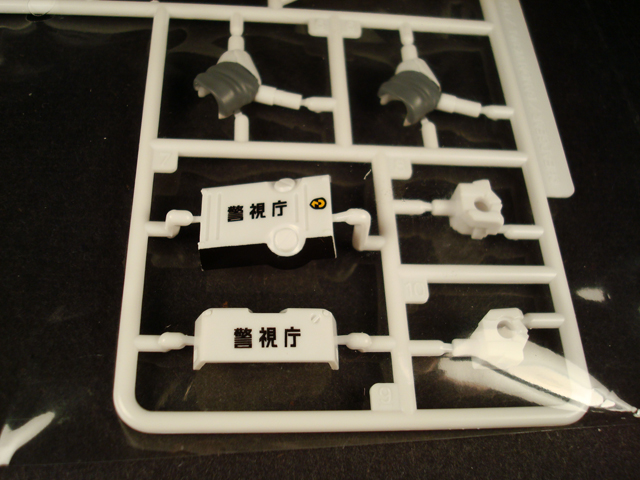
Kotobukiya wants you to enjoy the kit as much as possible so they've pre-painted some of the details for you! That's right, no water transfer decals either. This kit is made to look good without paint. Lets take a look at the sprues. You will notice where parts of the kit have been pre-detailed.
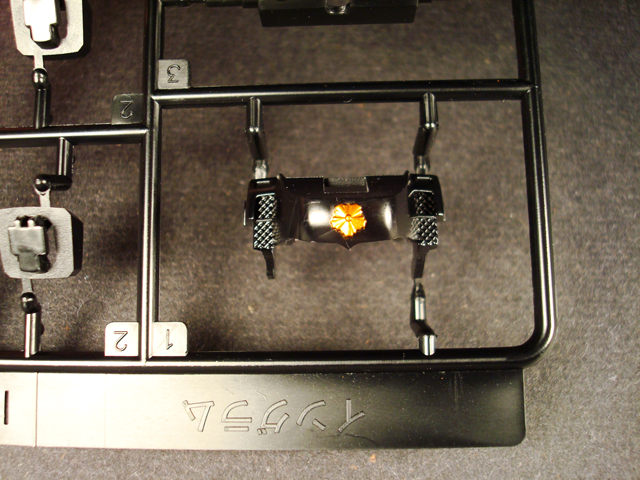
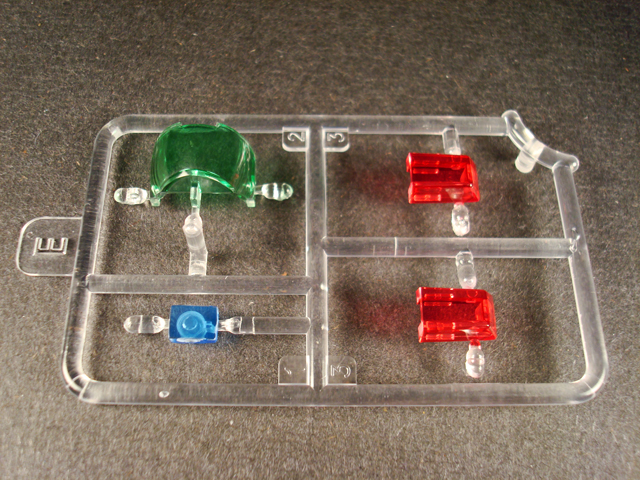
That's not all. Check out the clear pieces. Yeah, they are colored also.
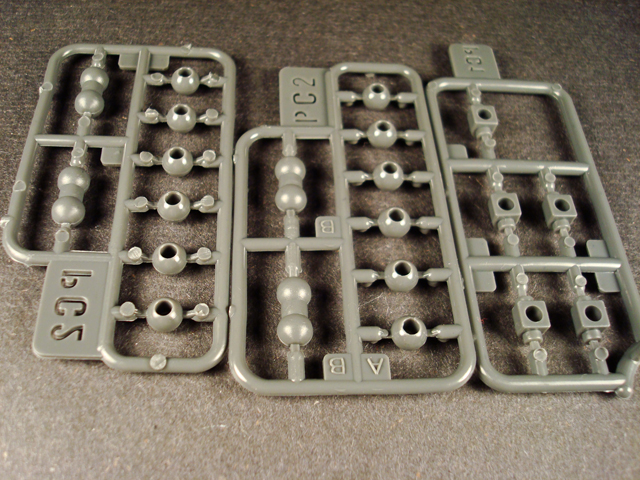
Did I mention this kit is poseable? No? Well, It is. Here are the poly caps that make this possible.
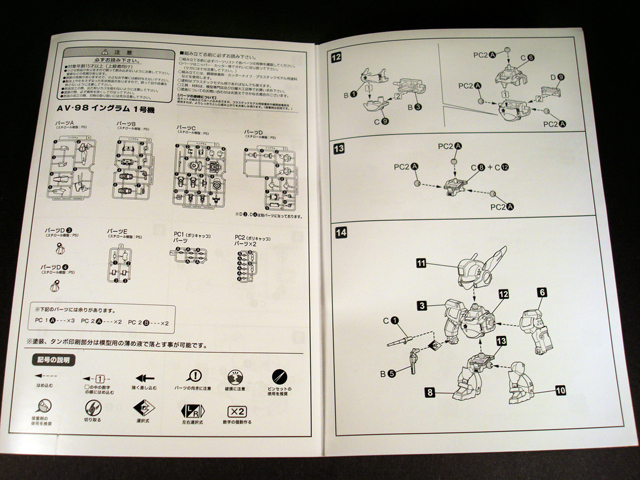
Of course Kotobukiya includes this full color instruction sheet to make things come together smoothly.

Here's a peep of the diagrams.
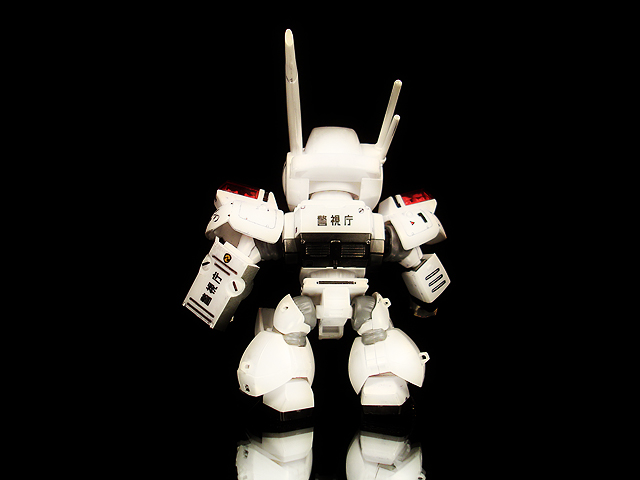
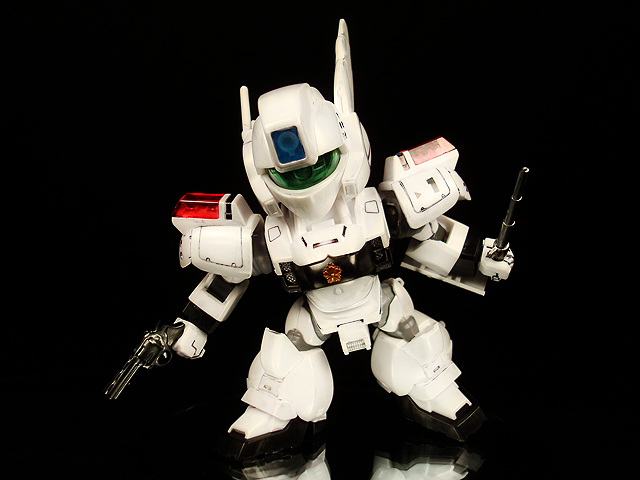
Ok, time to check out the completed model. Since this kit is my own, I've done some slight washing and weathering to bring out some panel lines using a standard Sharpie, silver marker and a fine point sharpie although a fine point Gundam marker would work best. Don't be afraid to experiment.
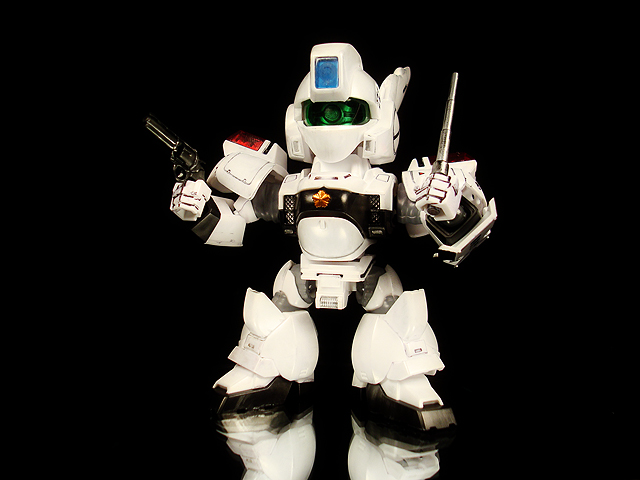
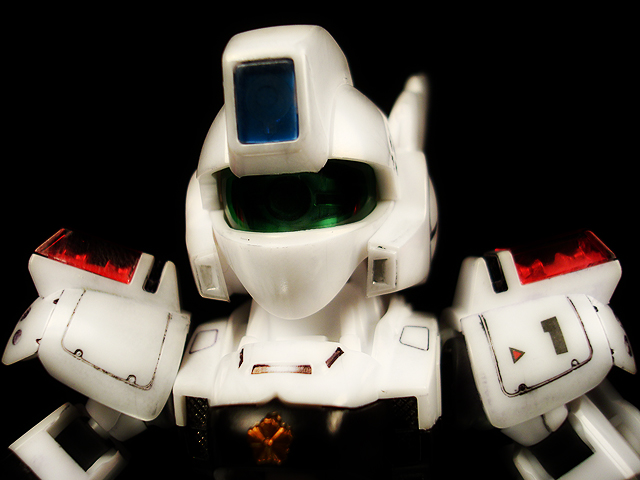
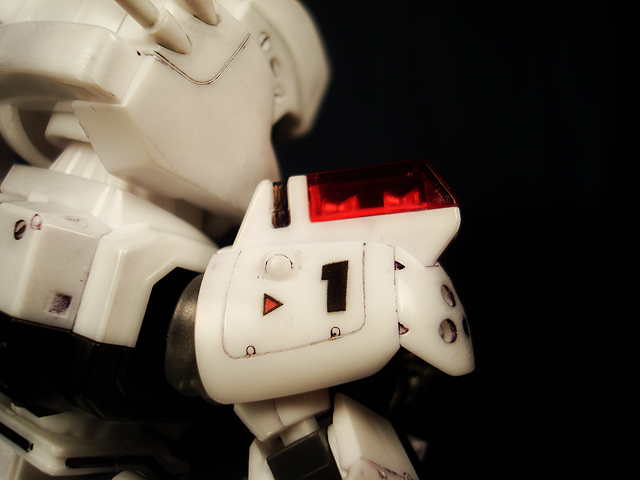
The green visor is crystal clear and really brings out the "eye" of the Ingram. Check out the shoulder pad tampo printing detail. Notice the neck area is unpainted. This could have easily been one of the pre-painted pieces but Kotobukiya for some reason left it unpainted.
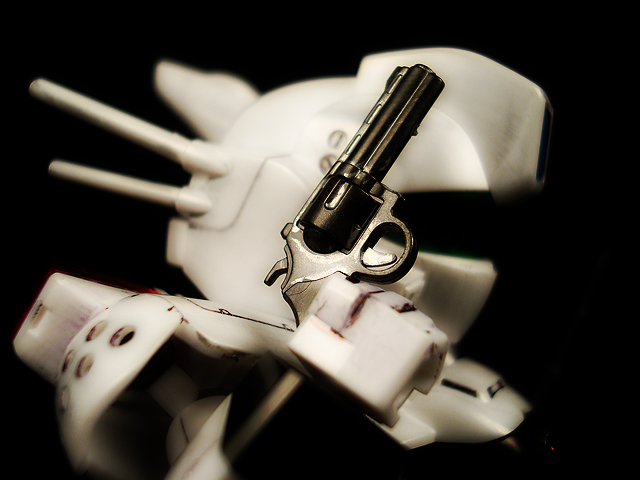
You gotta love a robot with a simple pistol as a weapon.
How about some posing action? You have a ball jointed head, shoulder pads, hips, feet, articulated shoulders, elbows and hands. The knees however are fixed.
Bottom line is that this is a really fun kit to build. Minimum prep work, snap fit assembly, poly cap joints so you can actually play with it and it's affordable. At just over 3" tall, it's not exactly tall but it looks just right alongside your robot collection. It has nice shelf presence. I can't wait for the rest of the line.
P.S. Griffon is a future release- HELLS YEAH!
| Posted 20 July, 2010 - 19:30 by chachipower |
Comments
7 comments postedDo you find the double polycap ball joints to be loose or fidgety? I really disliked that technique when Bandai used it on the Gundam Seed Destiny cheapie 1/144 kits.
On the other hand, the polycap ball joints with the hole in the center for a peg were also used by Bandai, on the earlier Gundam Seed 1/144 cheap kits, and those worked great.
I found them to be nice and firm upon completing the model. Nothing on this model was fidgety at all which I liked
that's crazy, man... ready to build out of the box! Affordable price too
but at times they can be nerve racking like the valsione kit from srw og, the main beef i had with the kit is that all that needs to be painted are just the fingernails the problem is that it's too small for guys with big hands like me it's frustrating though i commend that it looks good even without painting
You could try using masking tape to isolate tiny areas you need to paint. It'll be a little bit easier to paint that way. Some hobby shops sell rolls of masking tape of various widths for this purpose.
yeah imagine giving a manicure to something oooh... so small i have no problems with panel lining but when it comes to those fingernails man... just look at this... have fun painting each fingernail individually
http://usih.merchantrunglobal.com/ImageHosting/ViewImage.aspx?GlobalID=1003&MerchantID=1668&ImageID=2786&DisplaySize=-1
Looks pretty good. Wish I could have seen a completed picture prior to your additional marker work though. I get the feeling that makes it pop a lot more.
InfiniteHollywood.com